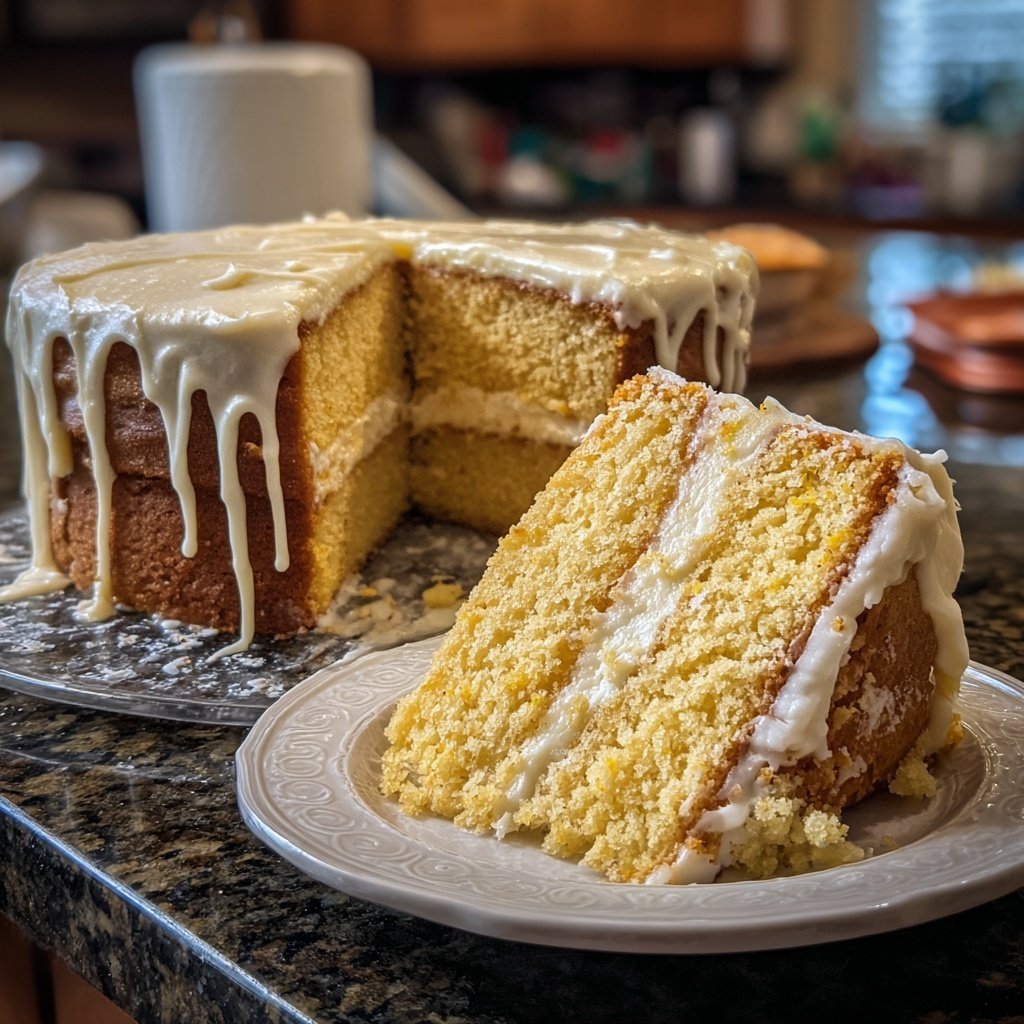
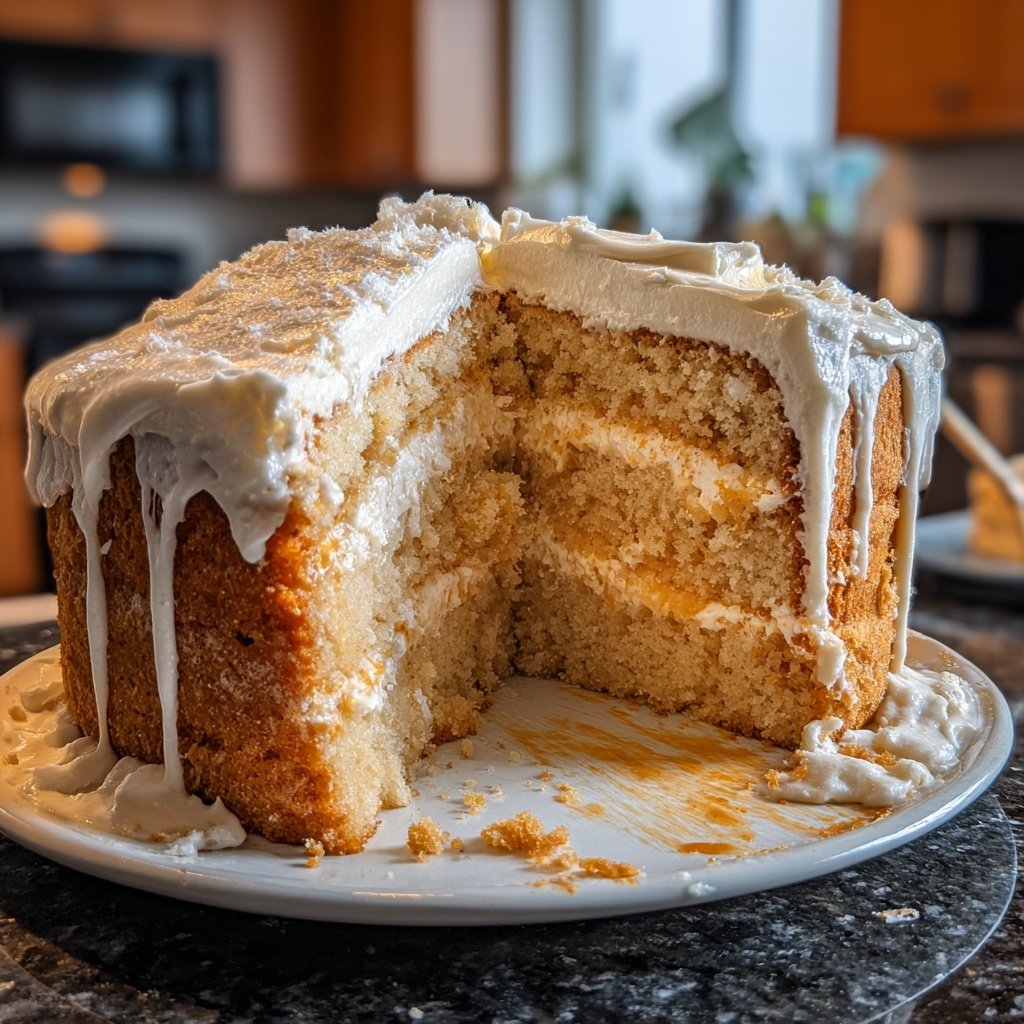
Moist Spring Vanilla Layer Cake
Highlighted under: Bakes & Bliss
I absolutely adore baking, and this Moist Spring Vanilla Layer Cake has become one of my favorite recipes. The light, fluffy layers combined with a rich vanilla flavor make it the perfect treat for spring celebrations. The cake stays moist, thanks to a secret ingredient that I’ve perfected over the years. I love serving it at gatherings because it brings smiles to everyone’s faces, and the best part is how easy it is to decorate. Follow my tips, and you’ll have a stunning cake ready to impress your guests.
When I first tried to make this cake, I was nervous about getting the texture just right. After several attempts, I realized that using buttermilk really makes a difference in keeping the cake moist and tender. It's incredible how a simple substitution can elevate a recipe so significantly. The vanilla flavor really shines through, and it’s perfect for any season, but it’s especially lovely in spring.
One of my favorite tips is to bake the layers a day in advance and refrigerate them overnight. This not only helps the cakes settle but also makes them easier to frost the next day. When I put everything together, I use a delicate vanilla buttercream that complements the cake perfectly without overwhelming it.
Why You'll Love This Cake
- Light and fluffy texture that melts in your mouth
- Rich vanilla flavor that shines through every layer
- Perfectly customizable with fresh fruits or sprinkles
Choosing Ingredients Wisely
The success of your Moist Spring Vanilla Layer Cake relies heavily on the quality of your ingredients. I recommend using high-quality unsalted butter for a richer flavor, as it will cream better with the sugar, resulting in that delightful fluffy texture. Also, using fresh eggs will contribute to the cake's lightness and moisture. If you can, opt for full-fat buttermilk instead of reduced-fat; the richness helps to tenderize the cake, preventing a dry texture.
When it comes to flour, using all-purpose flour gives the right balance of strength and tenderness, but if you want to experiment, you might consider using cake flour for an even softer crumb. Remember that even small substitutions can change the outcome, so keep this in mind if you choose to vary your ingredients.
Perfecting the Mixing Technique
The method you use to combine your ingredients can significantly impact your cake's texture. When creaming together the butter and sugar, make sure to achieve a pale, fluffy consistency; this usually takes about 3-5 minutes. If you under-mix, your cake may be dense rather than airy, and overmixing can develop gluten, leading to a tougher crumb. Stir in the dry ingredients just until no flour pockets remain; the batter should look slightly lumpy but should not be overworked.
To ensure even flavor distribution, it’s crucial to alternate adding the dry ingredients with the wet buttermilk. This method helps stabilize the batter’s consistency and yields a moist result. For best results, start and finish with the dry ingredients to help emulsify the batter effectively.
Storage and Serving Suggestions
Once your cake is baked and frosted, you can store it at room temperature for up to two days. For longer storage, refrigerate the cake, where it can last for about a week. If you plan to decorate in advance or save some for later, consider freezing the unfrosted layers. Wrap them tightly in plastic wrap and aluminum foil, and they can be frozen for up to three months—simply thaw in the refrigerator overnight before frosting.
As for serving, this Moist Spring Vanilla Layer Cake pairs beautifully with seasonal fruits like strawberries or raspberries for a fresh burst of flavor. You can also mix in your favorite sprinkles to the vanilla buttercream for a festive look. For a delightful twist, consider adding lemon zest to the buttercream for a refreshing citrus complement to the vanilla.
Ingredients
Gather these ingredients to create your Moist Spring Vanilla Layer Cake:
For the Cake
- 2 cups all-purpose flour
- 2 cups granulated sugar
- 1 cup unsalted butter, softened
- 1 cup buttermilk
- 4 large eggs
- 2 1/2 tsp baking powder
- 1 tsp vanilla extract
- 1/2 tsp salt
For the Vanilla Buttercream
- 1 cup unsalted butter, softened
- 4 cups powdered sugar
- 2 tsp vanilla extract
- 2-3 tbsp heavy cream
Make sure you have everything ready for a smooth baking experience!
Instructions
Follow these simple steps to bake and assemble your cake:
Preheat the Oven
Preheat your oven to 350°F (175°C). Grease and flour three 8-inch round cake pans.
Mix the Batter
In a large mixing bowl, cream together the softened butter and sugar until light and fluffy. Add eggs one at a time, beating well after each addition. Mix in the vanilla extract.
Incorporate Dry Ingredients
In another bowl, whisk together the flour, baking powder, and salt. Gradually add the dry ingredients to the wet mixture, alternating with buttermilk, beginning and ending with flour. Mix until just combined.
Bake the Cakes
Divide the batter evenly among the prepared pans and smooth the tops. Bake for 25-30 minutes, or until a toothpick inserted in the center comes out clean.
Cool and Frost
Allow the cakes to cool in the pans for 10 minutes, then transfer to a wire rack to cool completely. Once cool, spread the vanilla buttercream between layers and on top of the cake.
Enjoy your beautiful and delicious cake!
Pro Tips
- For an extra touch, add fresh berries between the layers or on top for a delightful spring presentation.
Troubleshooting Common Issues
If your cake layers dome in the oven, it may be due to excessive baking powder or an overly lively oven temperature. To prevent this, ensure your oven is correctly calibrated and try reducing the baking powder slightly. For a flat, even rise, you can also lightly tap the filled pans on the countertop before baking to release air bubbles.
On the other hand, if your cakes sink in the center, it could be that they were underbaked or that the oven door was opened too soon. Always perform the toothpick test—insert a toothpick into the center and ensure it comes out clean or with a few moist crumbs.
Flavor Variations and Customizations
While this recipe celebrates the classic vanilla flavor, there are countless variations you can explore. Incorporating almond extract in place of some of the vanilla can create a unique flavor profile. Alternatively, consider adding citrus zest into the batter for a zesty twist that complements the vanilla beautifully.
For more adventurous bakers, layering the cake with flavored syrups or purees, like strawberry or passionfruit, between layers can elevate flavor and moisture. Just be cautious not to over-soak the layers, as this could lead to a soggy cake.
Questions About Recipes
→ Can I use regular milk instead of buttermilk?
You can, but buttermilk adds moisture and a slight tang that enhances the flavor and texture of the cake.
→ How can I store the cake?
Store the cake in an airtight container at room temperature for up to 3 days, or refrigerate it to extend its freshness.
→ Can I freeze the cake layers?
Yes, the layers can be frozen. Wrap them tightly in plastic wrap and then aluminum foil for up to 3 months.
→ What can I substitute for eggs?
You can use flax eggs or applesauce as a substitute, but the texture may vary slightly.
Moist Spring Vanilla Layer Cake
Created by: Abigail Foster
Recipe Type: Bakes & Bliss
Skill Level: Intermediate
Final Quantity: 8 servings
What You'll Need
For the Cake
- 2 cups all-purpose flour
- 2 cups granulated sugar
- 1 cup unsalted butter, softened
- 1 cup buttermilk
- 4 large eggs
- 2 1/2 tsp baking powder
- 1 tsp vanilla extract
- 1/2 tsp salt
For the Vanilla Buttercream
- 1 cup unsalted butter, softened
- 4 cups powdered sugar
- 2 tsp vanilla extract
- 2-3 tbsp heavy cream
How-To Steps
Preheat your oven to 350°F (175°C). Grease and flour three 8-inch round cake pans.
In a large mixing bowl, cream together the softened butter and sugar until light and fluffy. Add eggs one at a time, beating well after each addition. Mix in the vanilla extract.
In another bowl, whisk together the flour, baking powder, and salt. Gradually add the dry ingredients to the wet mixture, alternating with buttermilk, beginning and ending with flour. Mix until just combined.
Divide the batter evenly among the prepared pans and smooth the tops. Bake for 25-30 minutes, or until a toothpick inserted in the center comes out clean.
Allow the cakes to cool in the pans for 10 minutes, then transfer to a wire rack to cool completely. Once cool, spread the vanilla buttercream between layers and on top of the cake.
Extra Tips
- For an extra touch, add fresh berries between the layers or on top for a delightful spring presentation.
Nutritional Breakdown (Per Serving)
- Calories: 350 kcal
- Total Fat: 22g
- Saturated Fat: 14g
- Cholesterol: 85mg
- Sodium: 160mg
- Total Carbohydrates: 40g
- Dietary Fiber: 1g
- Sugars: 28g
- Protein: 4g